Your Guide for Moving Houseplants Inside
- Thorsen's Greenhouse

- Sep 21, 2022
- 3 min read
The seasons are changing! If your houseplants love to enjoy the summer outdoors, it is time to start bringing them in for fall & winter. Get those houseplants nice and cozy indoors!

Our three step process ensures that your plants receive all of the attention they need during this transition! Begin by prepping your space - this is where your plant will be moved to inside. You want to ensure this space is ready for your plant! Next, take the time to acclimate your plant. It might take a few days of acclimation before your plant is ready to be inside full time. Lastly, your plant care routine might need to change to provide your plant with the best care possible in this new season!
Not all of these tips are required, but they will help your plants have a stress-free transition and encourage future growth!
Step One: Prep Your Space
Clean the windows so that they can let in maximum light. Depending on where you live, sunlight might be hard to come by in fall and winter. Give your windows a good cleaning (inside and out) to remove built up dust and dirt and ensure the sunlight is able to stream in!
Get a grow light if you have a dark house. You don't have to have large, sunny windows to keep your plants happy! Think about getting a grow light if your plant is going to be moving to a dark area in your house. You can also replace your current lamps and lighting fixtures with full spectrum bulbs to give your plants a little extra boost of light!
Run a humidifier to keep the air moist. Most houseplants comes from tropical regions of the world, meaning they thrive in moist and humid air! Unfortunately our heaters and furnaces dry out the air, especially during the fall and winter. Set up a humidifier to run near your plants to give them a boost, or use a pebble tray!
Step Two: Acclimate the Plant
Gradually move your plants to shade. If your plants have been outside in the sunshine, you want to gradually acclimate them to the indoors. Do this by moving your plant to a shadier and shadier spot each day to get them used to the change in light conditions.
Inspect (& treat) for pests. Carefully inspect your plant for any signs of bugs or pests that might try to hitchhike indoors. Apply appropriate treatment if pests are spotted to prevent infestations. You can also use neem oil or insecticidal soap as a preventative measure! If you are still worried about bringing pests inside, you can quarantine your plant in an area where any potential pests would not get to your other plants. If you don't see any evidence of pests after a few days of quarantine, your plant should be fine to rejoin the rest of the house!
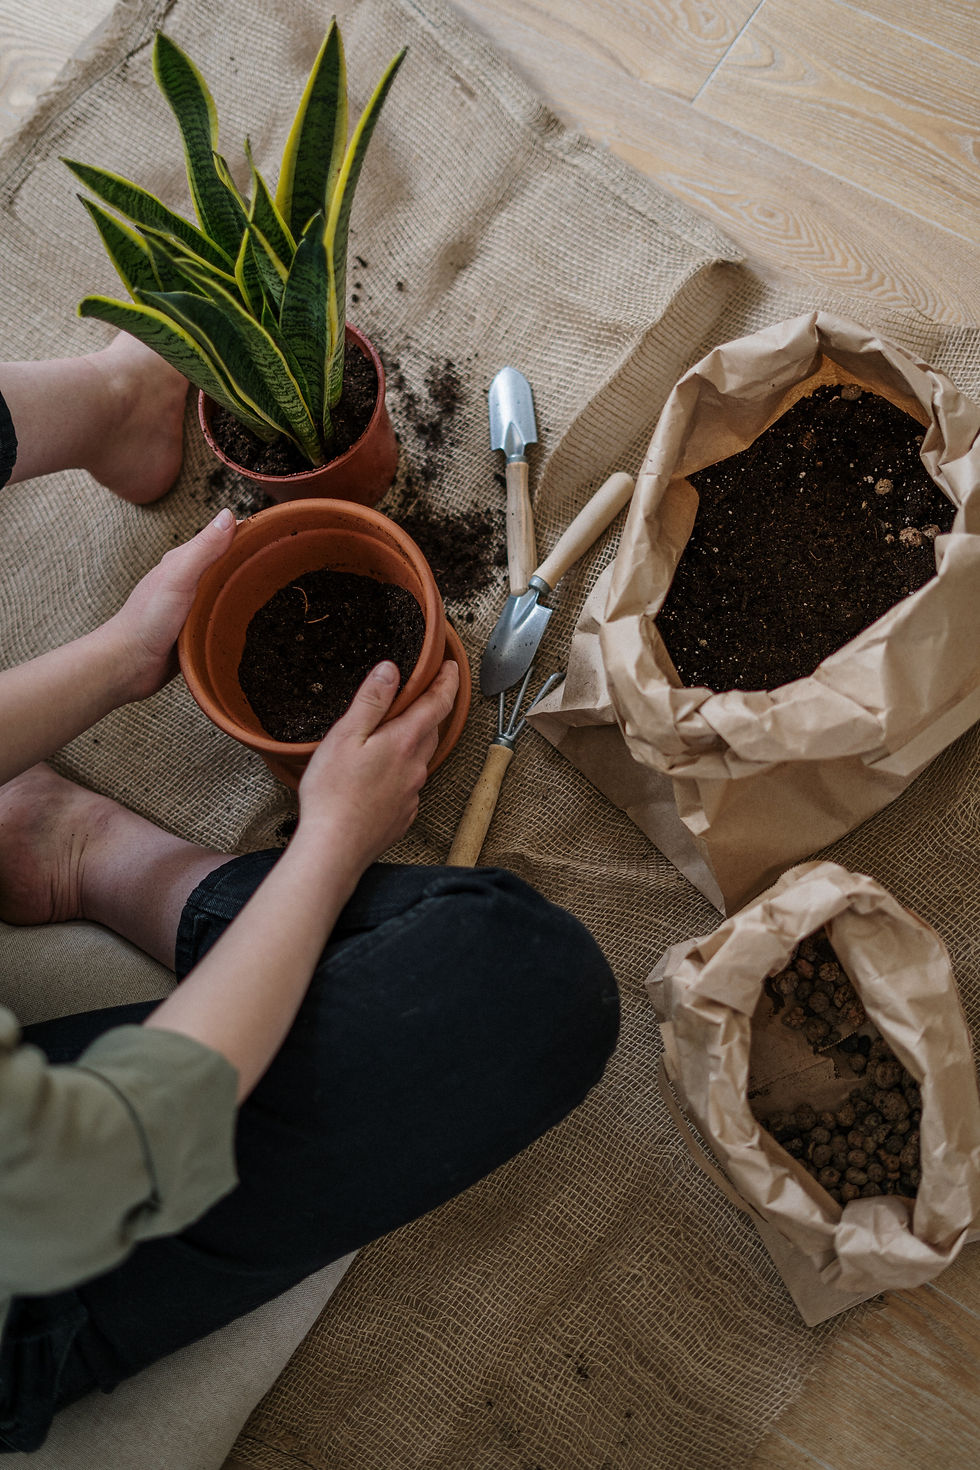
Repot if your plant needs it. If your plant has outgrown it's current pot, take some time to repot it into a larger one. This will allow your plant some extra breathing room and space to grow for the next few months. Do this as early in the season as possible to give your plant time to acclimate to it's new pot! You can also avoid repotting by trimming your plant back so that it fits it's current pot. Snip off any unruly growth and broken or browning leaves so your plant can conserve it's energy during the dormant months.
Step Three: Adjust Your Care Routine
Water less often. Plants typically take longer to dry out during the fall and winter due to decreased growth. Avoid issues such as overwatering by using careful judgement when watering your plant. You may find that your plant takes twice as long or more before drying out!
Keep your plant's leaves clean. Gently wipe down your plant's leaves regularly to prevent a build up of dust. This will help your plant stay clean and improve photosynthesis - a process through which plants make food for growth!
Rotate for even growth. Don't let your plant become lopsided! Rotate your plant a 1/4 turn each week to ensure even growth on all sides of the plant. This is especially important during fall & winter when light levels are decreased. You plant will be stretching trying to find the light and will end up growing in one direction, unless rotated frequently.
Like this blog post? Find similar content using the tags below.


Comments